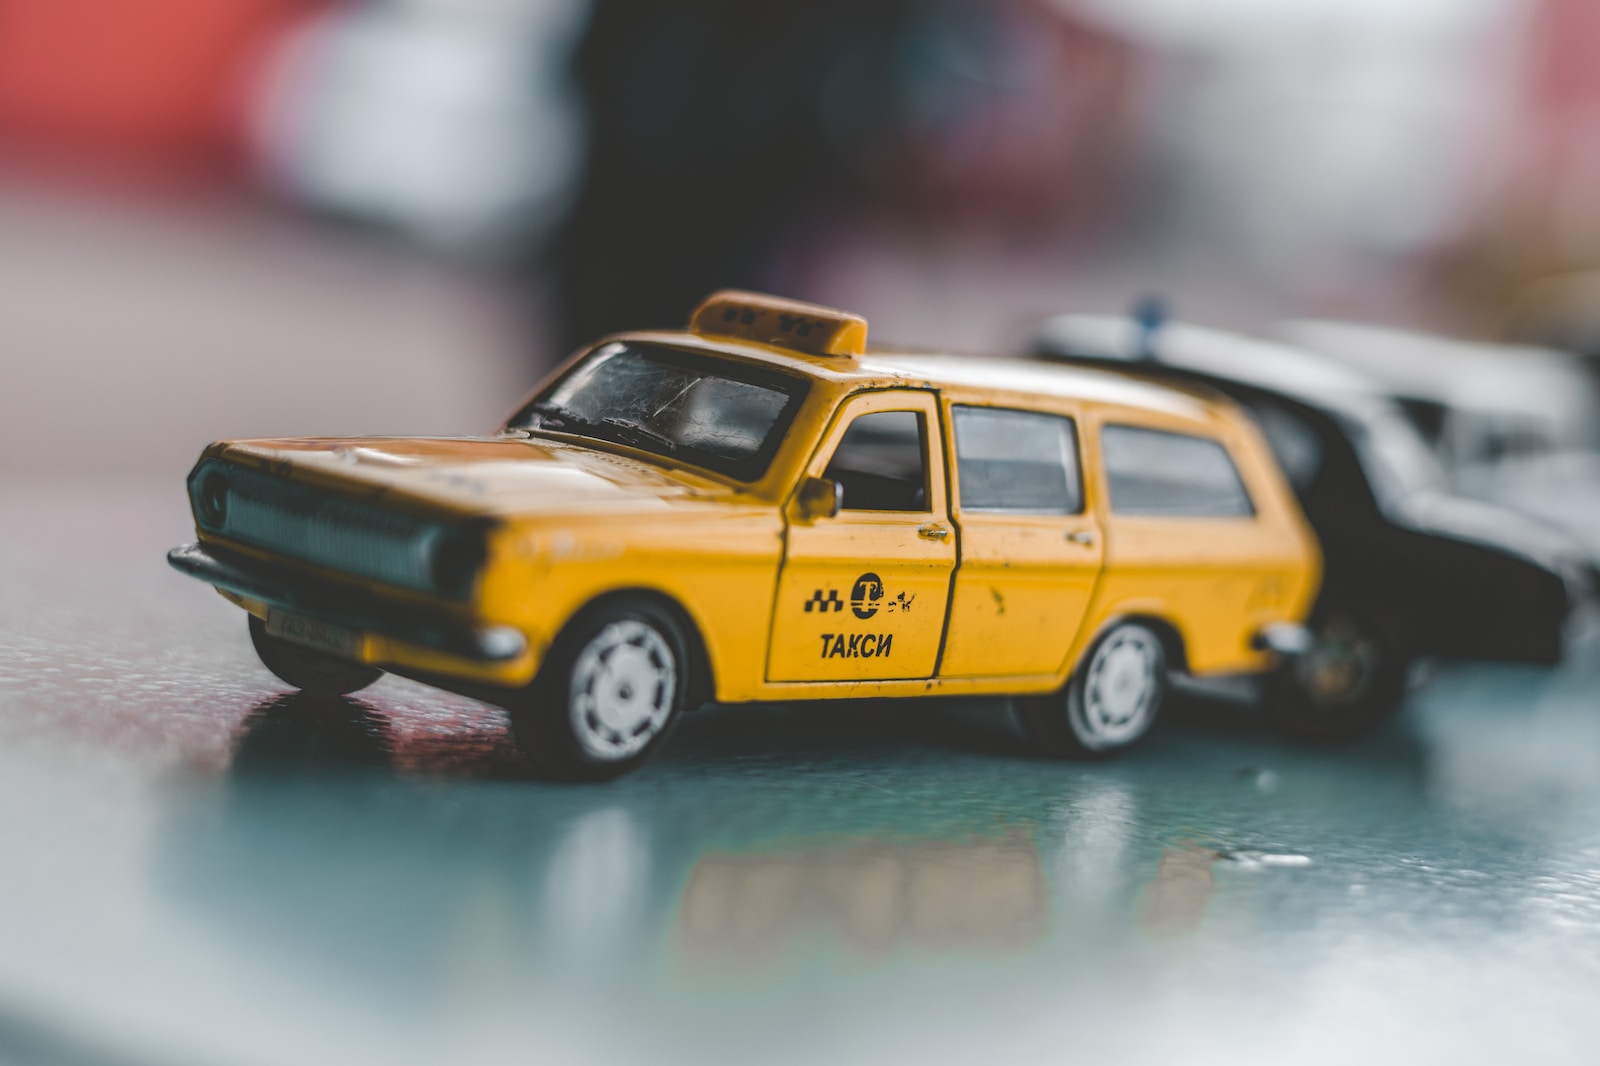
Miniature vehicles are a crucial element of tabletop gaming, whether it’s for games like Warhammer 40,000 or Dungeons & Dragons. Painting these vehicles can be a fun and rewarding experience that adds character and personality to your gaming pieces. However, it can also be a daunting task, especially if you’re new to painting miniatures. In this article, we’ll guide you through the steps to paint miniature vehicles for tabletop gaming.
How to Paint Miniature Vehicles for Tabletop Gaming
Materials You’ll Need
Before you begin painting, you’ll need to gather some materials. Here’s a list of things you’ll need:
- Miniature vehicle
- Primer
- Paints
- Brushes
- Palette
- Water cup
- Masking tape (optional)
- Hobby knife (optional)
Step-by-Step Guide
- Prep the Miniature: First, clean the miniature vehicle with soap and water to remove any dirt or residue. Dry it thoroughly before applying primer. If there are any mold lines or flash on the miniature, use a hobby knife to carefully remove them.
- Apply Primer: Primer helps the paint adhere to the miniature vehicle and provides a smooth surface for painting. Use a primer designed for miniature painting and spray or brush it on the vehicle. Let the primer dry completely before painting.
- Choose Your Paints: Acrylic paints are the best choice for miniature painting because they dry quickly, are easy to clean up, and come in a wide range of colors. Choose the colors you want for your miniature vehicle and pour them onto your palette. It’s a good idea to have a range of colors, including a base color, shading color, and highlighting color.
- Paint the Base Color: Start by painting the entire miniature vehicle with your base color. Use a small brush and work carefully, making sure to cover every nook and cranny. It may take several coats to get a smooth, even finish.
- Apply Shading: Shading adds depth and dimension to your miniature vehicle. Choose a slightly darker shade than your base color and use a small brush to apply it to the areas you want to shade, such as the underside of the vehicle or around the edges. Blend the shading color in with the base color using a dry brush technique, or by blending with a clean brush.
- Add Highlights: Highlights bring out the details and add a pop of brightness to your miniature vehicle. Choose a lighter color than your base color and use a small brush to apply it to the raised areas of the vehicle, such as the edges or corners. Blend the highlighting color in with the base color using the same technique as shading.
- Paint Details: Use a smaller brush to paint any details on the miniature vehicle, such as logos, symbols, or text. Use a steady hand and take your time to get these details just right.
- Finish with Varnish: Once your miniature vehicle is painted to your liking, protect it with a varnish. Varnish not only protects the paint job, but it also gives the miniature a finished look. Choose a matte or gloss varnish, depending on your preference.
Tips and Tricks
- Use masking tape to mask off areas you don’t want to paint, such as windows or wheels.
- Work in a well-lit area with good ventilation to avoid eye strain or breathing in fumes.
- Use a dry brush technique to blend colors together.
- Thin your paints with water to avoid brush strokes or thick paint buildup.
- Use a magnifying glass or head-mounted magnifier to help with small details.
- Practice on a spare miniature or a piece of cardboard before painting your actual miniature car
In conclusion, painting miniature vehicles for tabletop gaming can be a fun and rewarding hobby that allows for creativity and personalization of gaming pieces. By following the steps outlined above, hobbyists can achieve professional-looking results and create unique and eye-catching vehicles that add an extra level of excitement to their gaming experience. With practice and experimentation, there is no limit to the possibilities for painting and customizing miniature vehicles. Happy gaming!


