
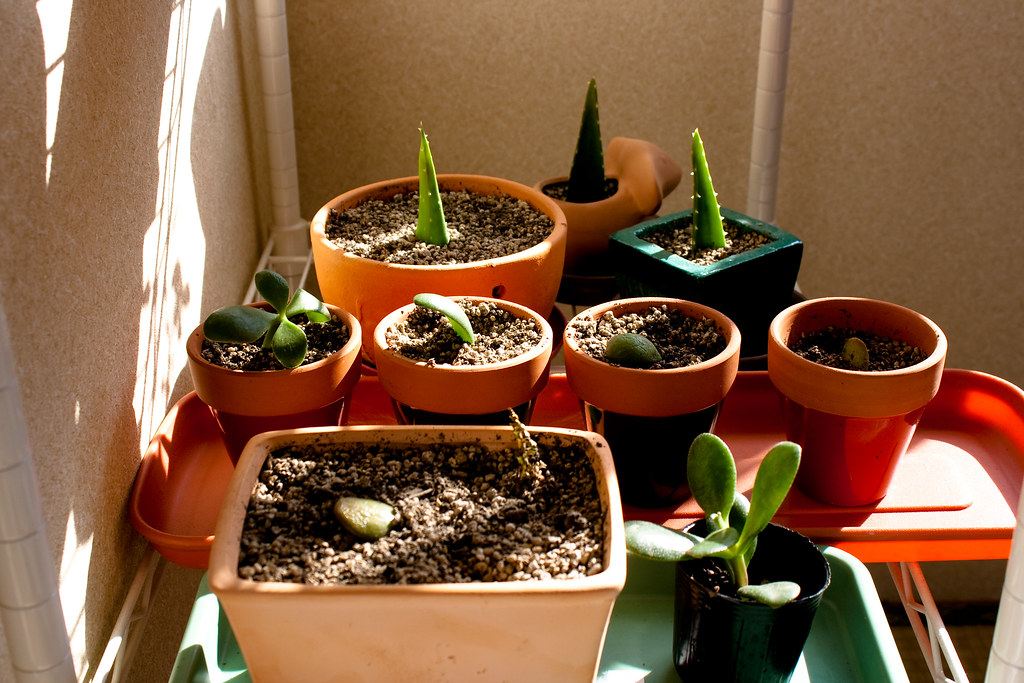
Succulents are beautiful and low-maintenance plants that come in a variety of shapes, sizes, and colors. One of the great things about succulents is that they can be easily propagated, meaning you can create new plants from cuttings or leaves. Propagating succulents is a fun and rewarding project that can help you expand your collection or give plants as gifts to friends and family. In this article, we’ll go over the steps for propagating succulents successfully.
Propagate Succulents Successfully
Step 1: Choose a Healthy Parent Plant
Before you can start propagating succulents, you need to choose a healthy parent plant to take cuttings from. Look for a plant that is free of disease and pests, and has a strong stem and healthy leaves. It’s also a good idea to choose a plant that is at least a few months old, as younger plants may not have developed enough roots to support new growth.
Step 2: Choose a Propagation Method
There are several ways to propagate succulents, including stem cuttings, leaf cuttings, and offsets. Stem cuttings involve cutting off a section of stem from the parent plant and letting it callus over before planting it in soil. Leaf cuttings involve removing a leaf from the parent plant and allowing it to callus over before planting it in soil. Offsets are small baby plants that grow from the parent plant and can be removed and planted on their own.
Step 3: Prepare the Soil
Succulents need well-draining soil to prevent the roots from sitting in water and becoming waterlogged. You can purchase a succulent soil mix or make your own by mixing equal parts of potting soil, coarse sand, and perlite. Fill a small container with the soil mix and moisten it slightly.
Step 4: Take the Cutting
To take a stem cutting, use a clean, sharp knife or pair of scissors to cut a section of stem from the parent plant. Make sure the cutting is at least a few inches long and has several leaves attached. To take a leaf cutting, gently twist a leaf from the parent plant until it breaks off cleanly. Make sure the leaf is fully intact and has no tears or damage.
Step 5: Allow the Cutting to Callus Over
Once you’ve taken the cutting, set it aside in a dry, shaded area and let it callus over for a few days to a week. This will help prevent the cutting from rotting when it’s planted in soil.
Step 6: Transplant the New Succulent
Once your new plant has developed roots, it’s time to transplant it to a new container. Use a small container with drainage holes and fill it with the succulent soil mix. Make a small hole in the soil and gently place the stem or leaf cutting in the hole. Firmly press the soil around the cutting to hold it in place. Water the cutting lightly and place it in a bright, sunny location.
Step 7: Care for the New Plant
To ensure that your new succulent grows strong and healthy, it’s important to provide it with proper care. Water the plant only when the soil is completely dry, and avoid getting water on the leaves or stem. Succulents don’t need fertilizer, but you can add a small amount of cactus fertilizer to the soil once a month during the growing season. Place the plant in a location with bright, indirect sunlight and protect it from extreme temperatures and drafts.
In conclusion, propagating succulents can be an enjoyable and rewarding way to expand your collection of these fascinating plants. With a little patience and care, you can easily grow new succulents from cuttings, leaves, or offsets. The key is to provide the right growing conditions and avoid common mistakes, such as overwatering or exposing the cuttings to direct sunlight too soon. By following the tips and techniques outlined in this article, you should be able to propagate succulents successfully and watch them thrive in your collection.


