Paper has a special talent. It shows up in backpacks, multiplies on counters, then slides into that mysterious pile that makes you feel behind before you’ve even had coffee.
A 3-step “do it, file it, trash it” paper spot is the opposite of that pile. It’s a small, boring corner that does a heroic job, catching permission slips, flyers, teacher notes, instruction manuals, and the truly unexplainable handout with no date, no context, and a lot of clip art.
The goal isn’t perfection. It’s a paper organization system you can run on a weekday brain.
Choose a paper spot that fits your real life (not your fantasy life)

The best location is where paper naturally lands. Not where you wish it would land. If backpacks hit the floor by the door every day, putting the paper spot in a quiet office upstairs is like putting the snack drawer in the garage. You’ll do it for a week, then stop.
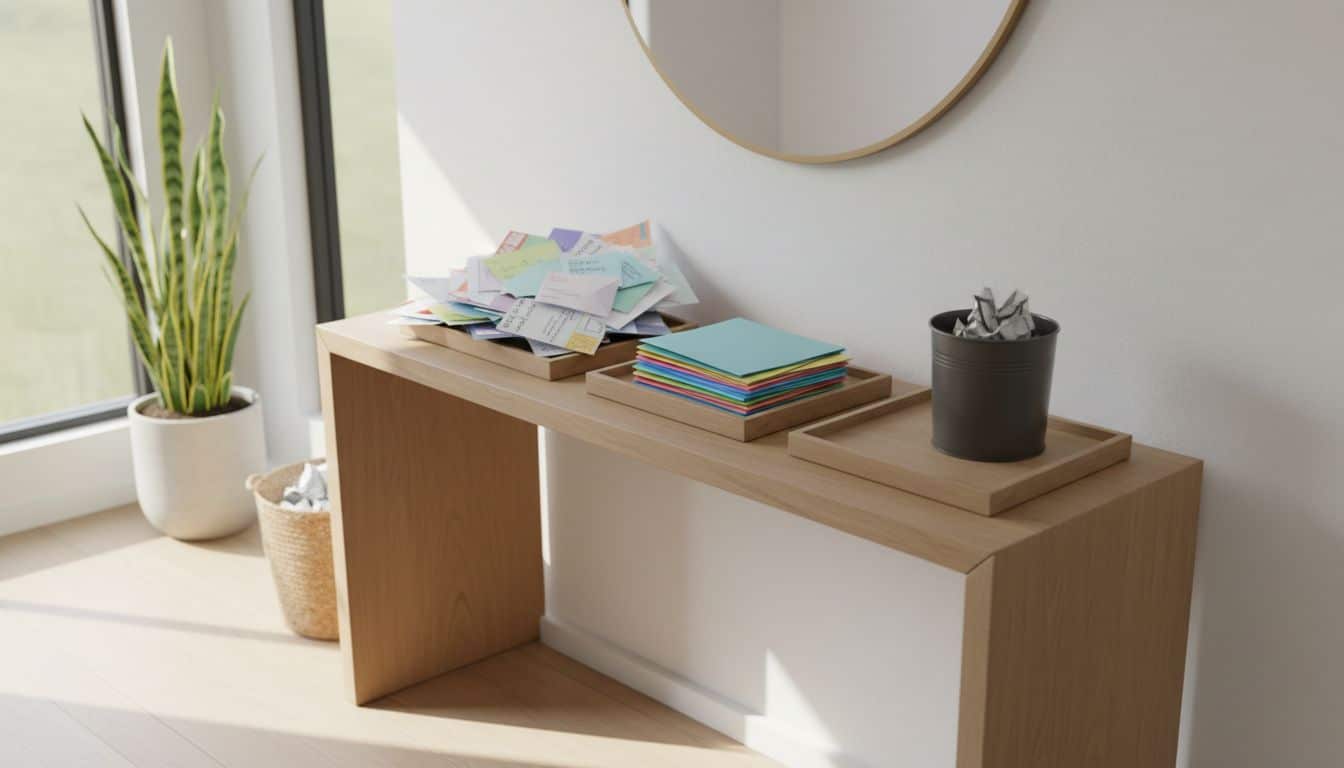
Aim for a high-traffic surface you already pass: an entryway console, a corner of the kitchen counter, or the end of a dining table that has become “the command center” without anyone voting on it.
A good paper spot has three traits: it’s easy to reach, easy to see, and hard to ignore. Eye level helps. So does light. If you have to shuffle a fruit bowl, move a toaster, and clear yesterday’s mail just to sort a form, the system will lose.
Also, make the space small on purpose. A paper spot should feel like a landing pad, not a storage unit. If you give paper a wide open runway, it will take it as permission to camp out.
One more thing that matters more than it should: put the trash or recycling right next to the trays. “Trash it” fails when trash is across the room. The paper will stay put while you get pulled into helping with homework, finding a missing shoe, or breaking up a sibling debate about who breathed on who.
Set up the 3-step trays so each paper has only one job

This system works because it makes you decide fast. Paper doesn’t get a ten-step ceremony. It gets sorted once, then it either gets handled, kept, or removed.
Use three vertical trays, magazine holders, or wall pockets. Labels matter because they remove thinking. Keep the labels direct:
- DO IT
- FILE IT
- TRASH IT
Now define the bins in plain language that matches how your house runs. “Do it” is for anything that needs action from an adult: sign, pay, RSVP, fill out, return, buy supplies, add to calendar. “File it” is for reference: schedules, school policies you actually use, team manuals, camp instructions, a single-page “how to log in” sheet that your teen will ask for later. “Trash it” is for anything you don’t need after you’ve read it once.
A quick cheat sheet helps when you’re tired:
| Paper type | Where it goes | Why |
|---|---|---|
| Permission slip, field trip form | DO IT | Needs a signature and a return |
| Fundraiser flyer you’re ignoring | TRASH IT | You’re allowed to ignore it |
| School calendar, bell schedule | FILE IT | You’ll look it up again |
| Appliance manual, sports handbook | FILE IT | Reference, not an action item |
| Random “spirit week” reminder | DO IT | Dates matter, action is small |
Keep a pen in the same spot, every time. One pen. Not a cup of 23 pens that don’t work. If you want to be fancy, add a small clipboard behind the trays so you can sign forms without hunting for a hard surface.
To keep this from turning into a miniature paper museum, set a simple rule: if it goes into FILE IT, it must fit. If it doesn’t fit, it’s not filing, it’s stacking with confidence.
If you want a short “support kit” beside the trays, keep it tight:
- A working pen: If you have to search for one, “do it” becomes “later.”
- A small stapler: Keeps multi-page packets from shedding pages like a stressed-out tree.
- One folder labeled “To return”: Finished forms go here so they don’t boomerang back into DO IT.
- A small trash or recycling bin: The system is only as good as the exit door.
Keep it running with a 2-minute routine and a weekly reset
The secret isn’t the trays. It’s the repeat. You don’t need a big household meeting with a slide deck. You need one small habit that happens at the same time most days.
Make the paper spot the first stop after school. Backpacks get emptied there, not “somewhere in the house.” If kids are old enough, have them put papers into the trays themselves. If they aren’t, you can still train the motion: backpack down, lunchbox out, papers to the station. Like brushing teeth, it’s not about passion. It’s about sequence.
Then do the smallest daily sweep possible. Two minutes is enough. You’re looking for quick wins: sign the form, scan the date, move it to “To return,” toss the junk. If something takes longer than two minutes, leave it in DO IT and write a due date on the top corner. That tiny note saves you from re-reading the same page three times.
Once a week, do a reset. Pick a consistent moment, Sunday evening works for many families, but any day is fine if it repeats. Clear DO IT first. If it’s done, move it out. If it’s not, put it back neatly and add a date. Then empty TRASH IT fully so it doesn’t become “Trash it, but emotionally.”
Finally, deal with FILE IT before it grows teeth. FILE IT should not be where important papers go to disappear. Give it a simple destination: one folder per child, plus one household folder for manuals and guides. If you already keep a binder for school info, this is where those pages go. If you don’t, a single file box works.
When you’re stuck on a “maybe” paper (the ones that feel risky to throw away), use a time limit. File it for 30 days. If you never needed it, let it go next month. Your future self wants fewer stacks, not more guilt.
Conclusion
A three-tray paper spot won’t stop schools from sending paper home. It will stop that paper from taking over your counters, your evenings, and your mood. Set the trays, place the trash nearby, and treat DO IT like a short appointment with your past self. Once it becomes routine, your paper organization system starts to feel less like work and more like relief. Where would this work best in your home, the kitchen counter, or the entryway?


